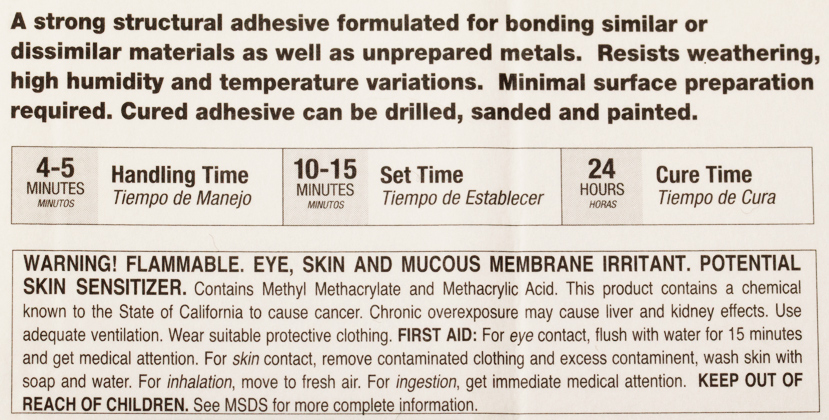
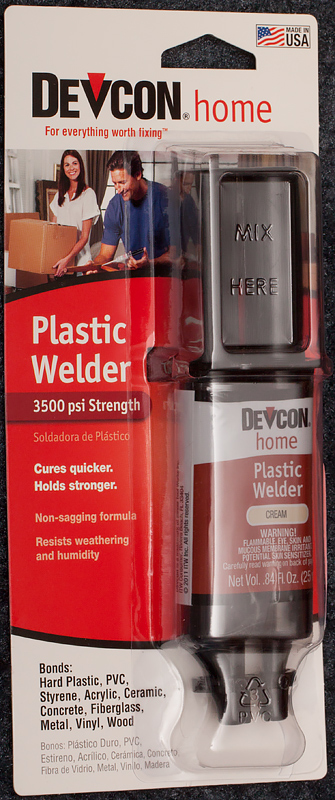
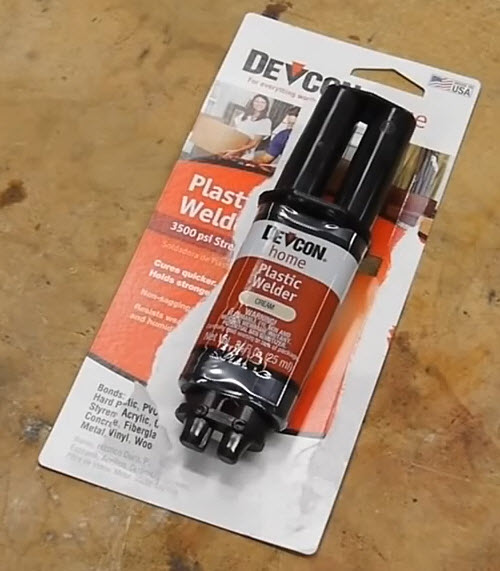
While buying some more Loctite Weld the other day, I happened to pick up a package of J-B Weld also. Results from testing the J-B Weld were interesting, so I thought I'd post them out for posterity.
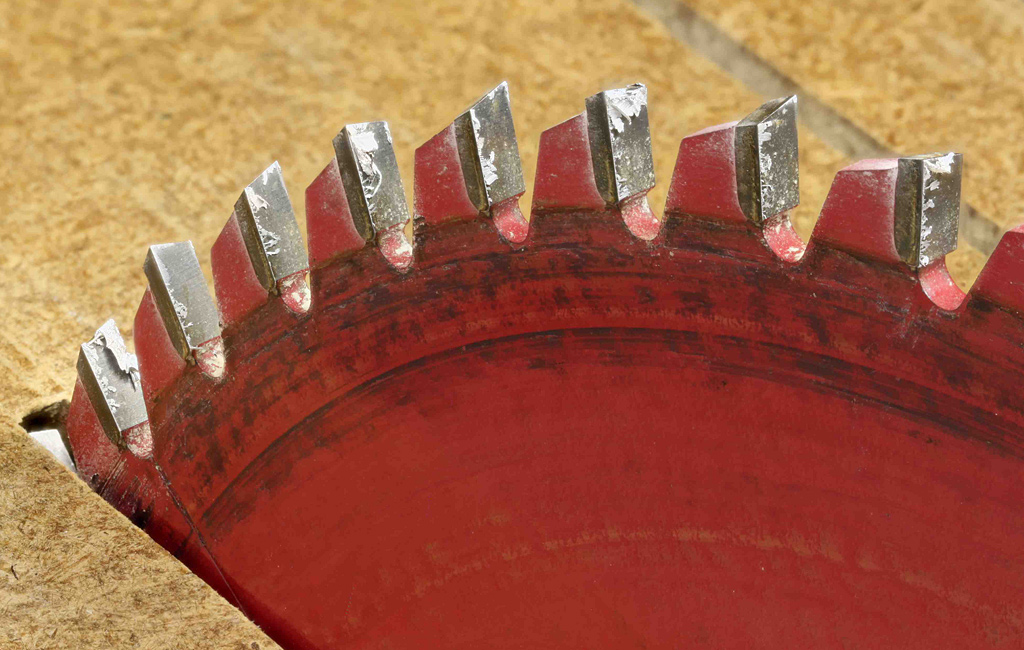
The test protocol was very similar to what I did before. I cut short pieces of 3/8" aluminum rod using carbide blade on my table saw, butt-jointed them with the adhesive to be tested, let them cure for a few days, then tested them to destruction.
One difference is that this time I had the saw set up a little differently, and I noticed that some of the cut ends had metal flakes stuck to them. So I filed those ends until I had a clean filed surface, before cleaning them with xylene and acetone and then gluing them.
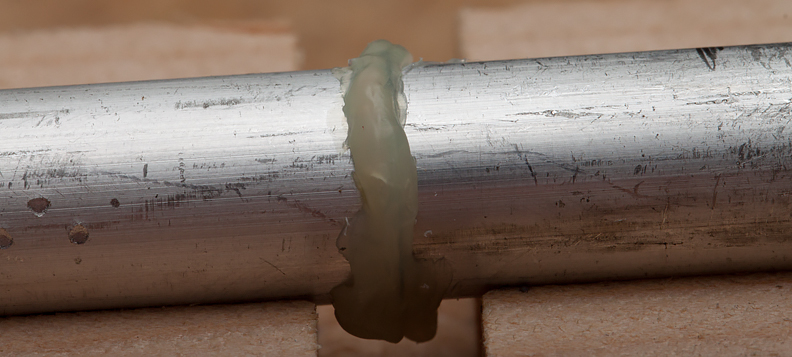
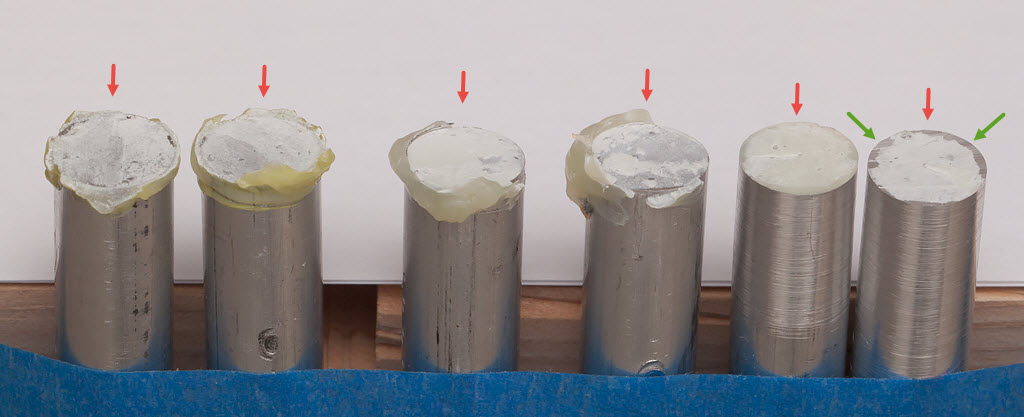
Here is the result, after gluing and breaking. Red arrows mark the side that was facing up while breaking.
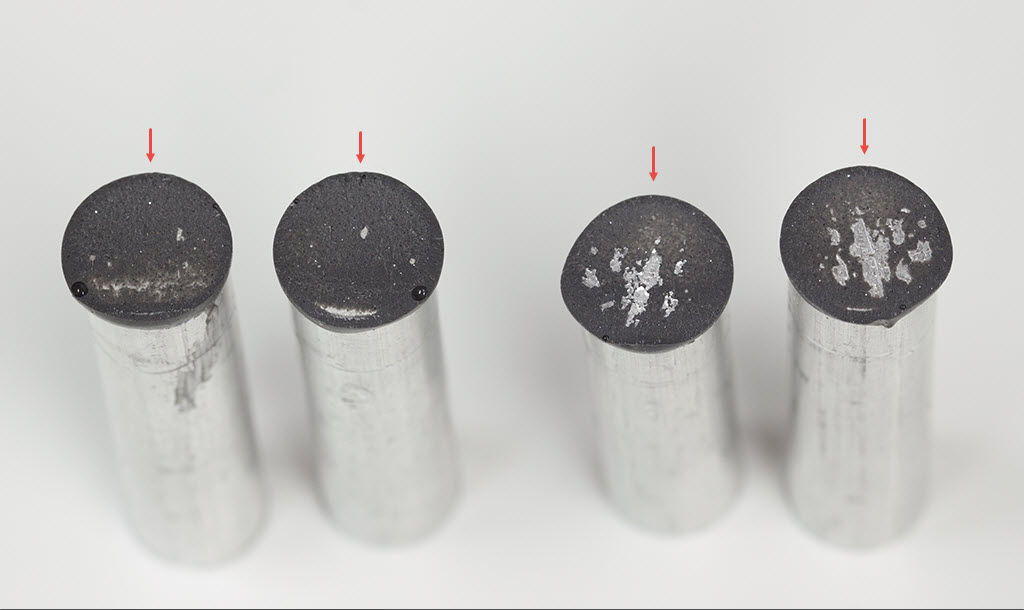
These two pieces held with 10 pounds on lever arms of 3" and 2-1/2" respectively, failing at 3-1-4" and 2-3/4". This is significantly stronger than the Loctite Weld material.
One huge difference between the adhesives is that J-B Weld has a much longer pot time. The J-B Weld remained mixable and self-smoothing well beyond 2 hours, versus a few minutes for the Loctite Weld.
What really caught my attention, however, were two aspects not directly related to the adhesive strength.
The first aspect is that, while one joint failed by almost uniformly fracturing the epoxy, the other joint appeared to have large areas of unglued aluminum in it.
I had applied the glue by smearing both ends and then working them together, so it was not believable that large areas could have escaped having glue on them. But when I examined the bare aluminum under a low power scope, it was clear that there really was no glue in those areas. So, what happened??
Well, remember those metal flakes I mentioned? It turns out that the flakes I saw were just "the tip of the iceberg". When I filed off those flakes, leaving a pristine filed surface, what I did not realize was that there were still layers of disturbed aluminum below them. What shows as bare aluminum in the weaker broken joint are those places where the adhesive stuck to the surface of the aluminum better than the aluminum layers stuck to themselves. This caused an aluminum flake to pull off with the epoxy, leaving the flake's back side and the matching metal underneath it showing as bare metal in the final broken joint.
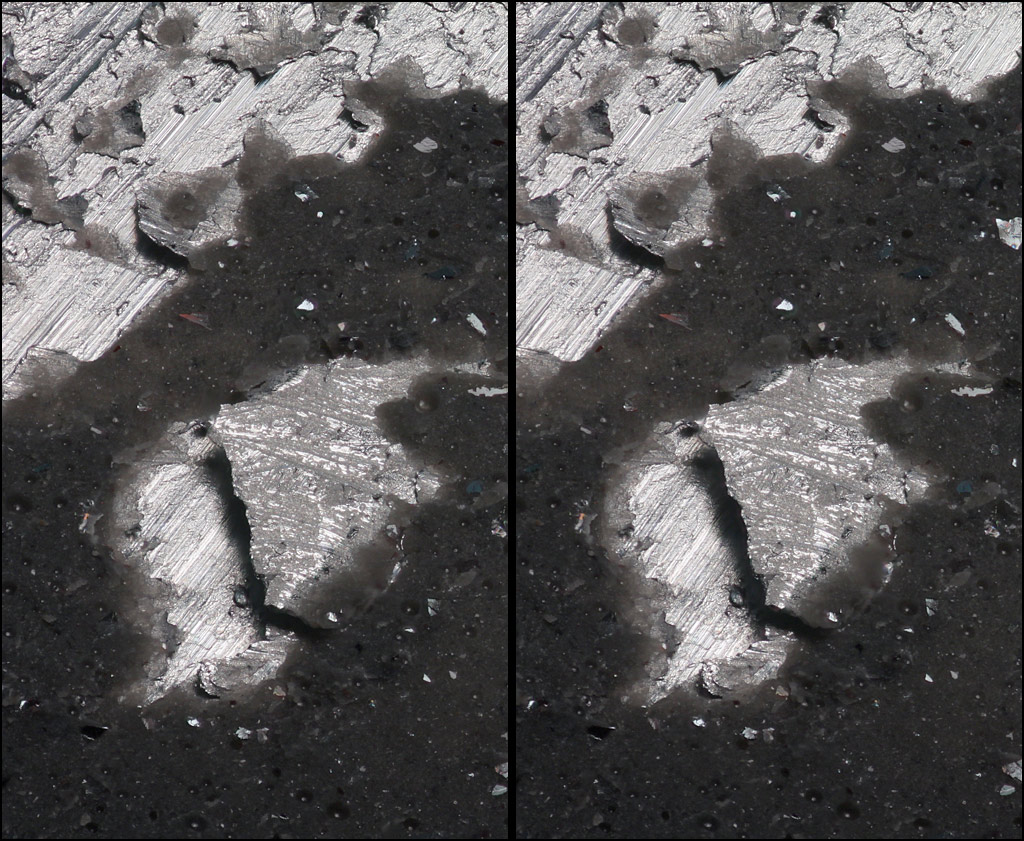
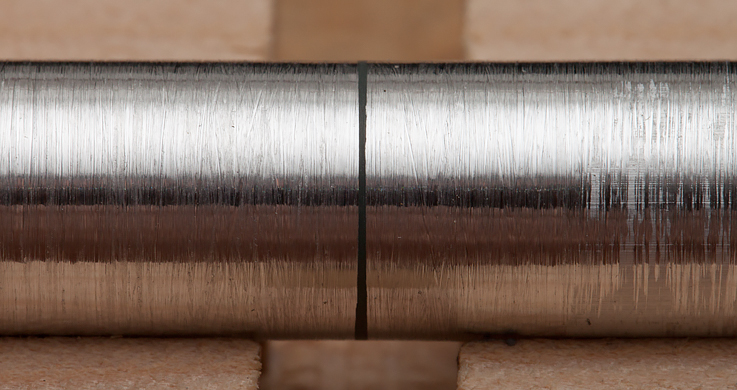
Following are high mag photos of the broken ends.
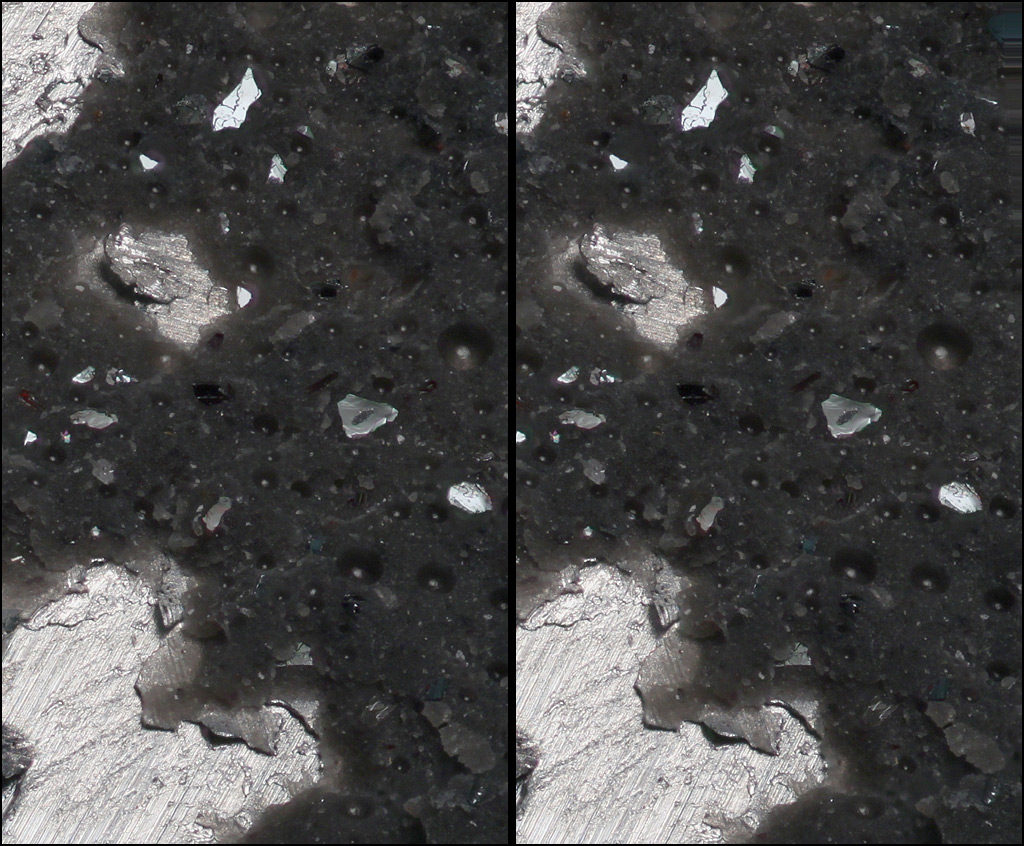
First, the well-behaved joint, shown on the left side of the picture above. At upper left in this new picture, the pit with a bottom of bare aluminum is one small place where the epoxy separated from the aluminum. Farther to the right, there's a pedestal with file marks showing on the top of the pedestal. That's a corresponding place where epoxy separated from aluminum. Everywhere else is fractured epoxy -- despite the appearance of many shiny crystal facets, which I'll talk about separately.
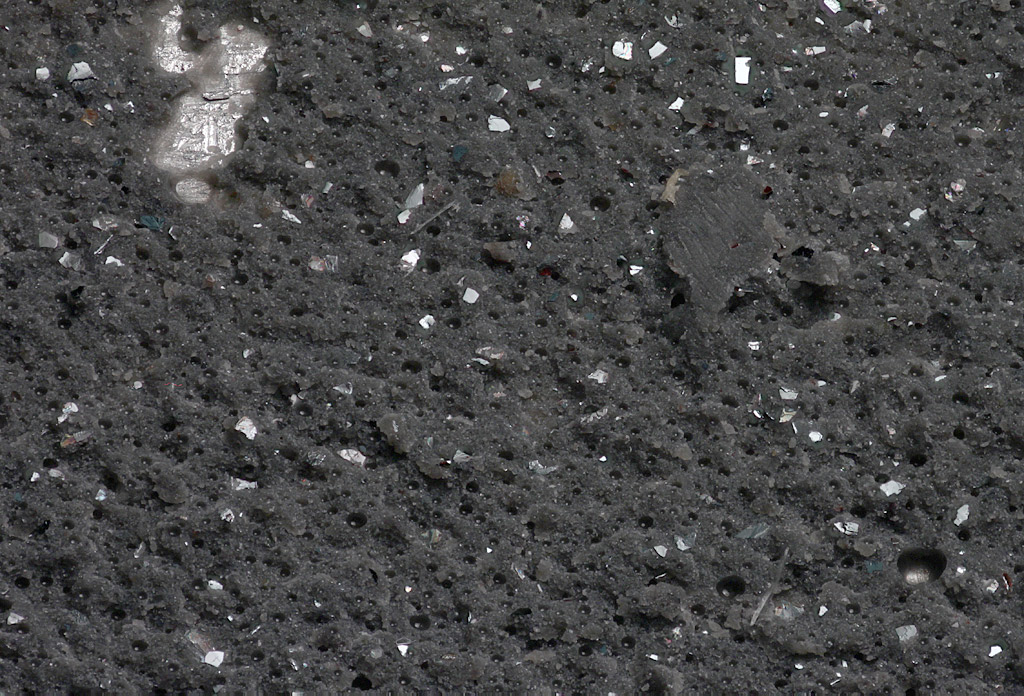
Then we have two close-up stereo views of one face of the weaker joint. In addition to fractured epoxy, it's pretty clear that the surface of the aluminum itself is flaking apart. In the first picture, it's clear that the machining marks run in different directions on the flake and on the metal below it, further indicating that this was a bit of aluminum that had been separate at some point in time and had then gotten re-bonded with the main part of the rod, before I cleaned up the end by filing.
I had not anticipated this laminar reforming of the surface caused by cutting. It's another lesson for future work.
Now, about those shiny crystal facets, well, those are apparently some sort of strengthening component that the J-B Weld manufacturer puts into their resin. You can see a lot more about those over in the Microscope forum, at
J-B Weld "Steel Reinforced Epoxy" resin.
--Rik


 00:59
00:59