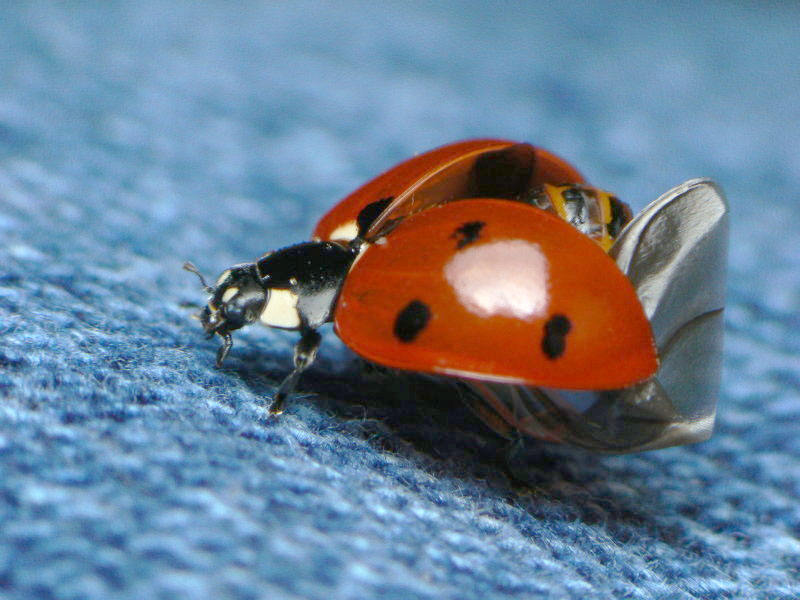
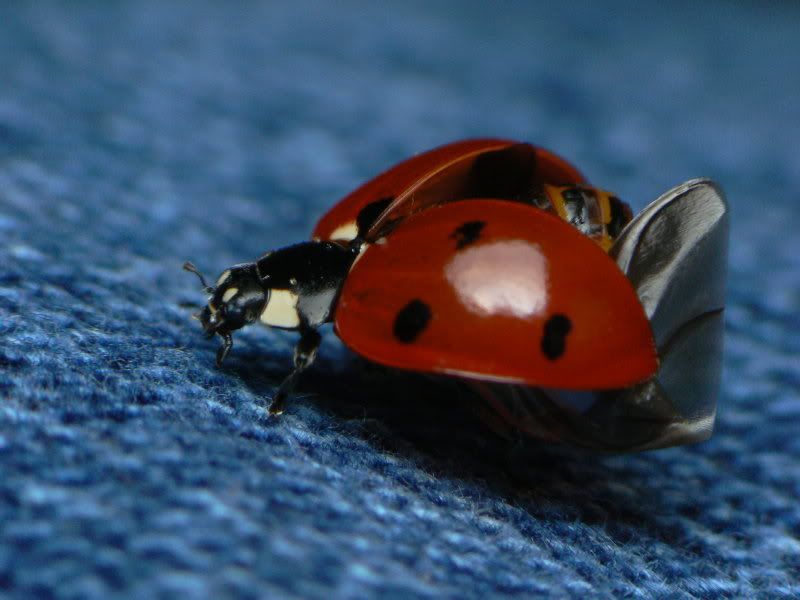
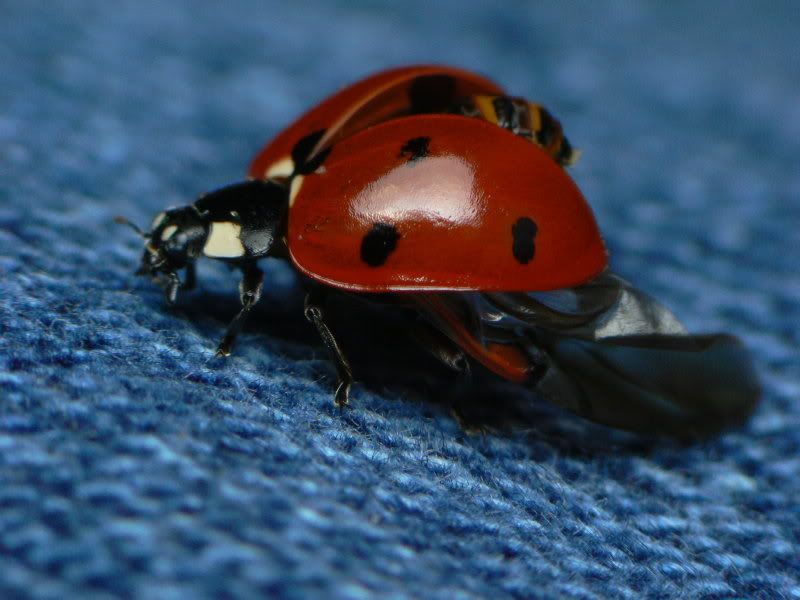
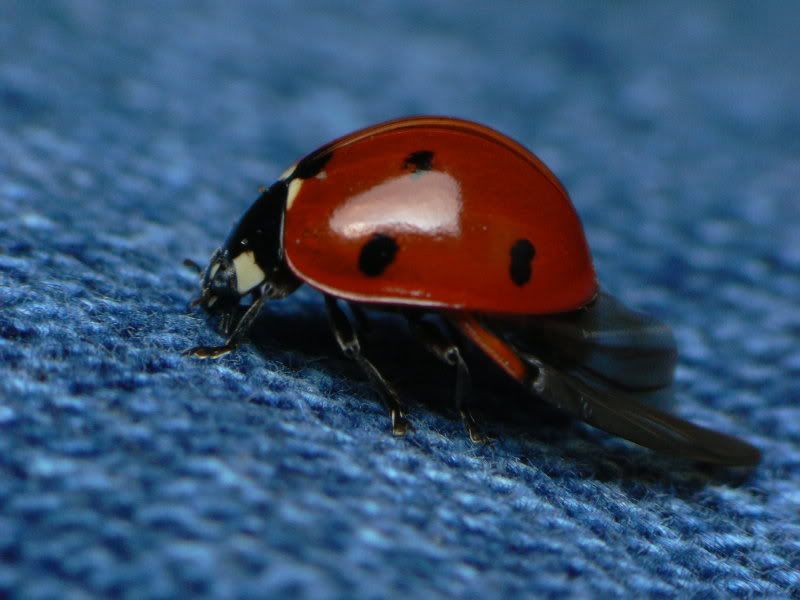
All of these were taken with my usual macro gear, without any fancy editing.
Any comments or critique would be greatly appreciated.
Moderators: rjlittlefield, ChrisR, Chris S., Pau

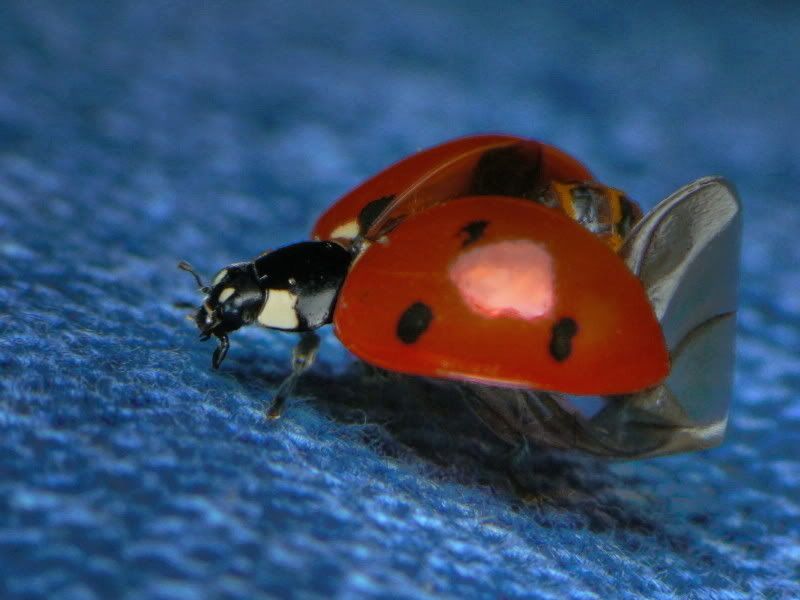
Please do, cause I'm not extremely good at working with layers.rjlittlefield wrote:Much of this difficulty can be fixed by a simple levels adjustment of the current images, to brighten the images and bring out shadow detail. In Photoshop, a Levels Adjustment layer with Input Levels of [0,1.6,212] reveals most of the wing structure, without blowing out the highlights. Should I illustrate?
--Rik
Interesting, thanks for illustrating.rjlittlefield wrote:Here is an example.
--Rik
http://janrik.net/MiscSubj/2010/homesta ... tled-2.jpg
http://janrik.net/MiscSubj/2010/homesta ... Layers.jpg
Fear not, you don't have to be. You can just copy the layer with your image on, (Control-J in photoshop, on a PC) and tinker away, with Adjustments>Levels or Curves, or whatever. If you mess it up, just use another copy of the original.I'm not extremely good at working with layers.
Ah yes, that's a habit I practice all the time with my editing.ChrisR wrote:Fear not, you don't have to be. You can just copy the layer with your image on, (Control-J in photoshop, on a PC) and tinker away, with Adjustments>Levels or Curves, or whatever. If you mess it up, just use another copy of the original.I'm not extremely good at working with layers.
Just remember to "Save As" with a different name!
Later you can learn better methods, one thing at a time is simpler.
I apologize for ruining your image. (This sort of reaction is why we don't allow reposting images without permission.)homestar455 wrote: But I thought he was talking about getting fancy using multiple layers and lighting tools to lighten up the shadows without ruining the rest of the image.
Oh no no no my friend, I didn't mean it like that, I chose my words poorly, I'm sorry. I just meant I was thinking of something much more convoluted to achieve relatively the same effect. It looks good, and I do appreciate you taking the time and effort.rjlittlefield wrote:I apologize for ruining your image. (This sort of reaction is why we don't allow reposting images without permission.)homestar455 wrote: But I thought he was talking about getting fancy using multiple layers and lighting tools to lighten up the shadows without ruining the rest of the image.


Ahh, I apologize also. I did not get enough sleep last night and woke up grouchy. Let us forget this awkwardness!homestar455 wrote:Oh no no no my friend, I didn't mean it like that, I chose my words poorly, I'm sorry.
This looks good, and I would be interested to know the details. (I am difficult to bore!)I won't go into much detail unless any of you want me to, (I don't want to bore you) but I rendered the image in HDR and ended up with this result:
http://i238.photobucket.com/albums/ff41 ... dybug3.jpg
What do you guys think?