On May 2nd, I posted here, my first attempt at 1:2 close-up photo stacking using Photoshop CS6 (actually, this was my first attempt at photo stacking period). The 1:2 close-up photos used for stacking, were taken with the in-front of the lens 4 feet from the subject being photographed (4 foot working distance). The Photoshop CS6 photo stacking results were somewhat successful but there were slight problems.
In that post I used the Kenko 68mm extension tubes to get the 1:2 close-up photos. Today, I am going to show photo stacking of photos that were taken using the Nikon 17E II teleconverter instead of the extension tubes. The use of the teleconverter also gives 1:2 close-up photographs at a 4 foot working distance.
The photo equipment used consisted of a Nikon D500 camera with the Nikkor 300mm f/4E PF lens with the Nikon17E II teleconverter between the camera and lens. The camera was mounted on a tripod and I used live view to manual focus the lens by rotating the lens focus ring. I used a Nikon MC-36 Cable Release to fire the shutter. I waited a few seconds after touching the focus ring before firing the shutter to reduce vibration.
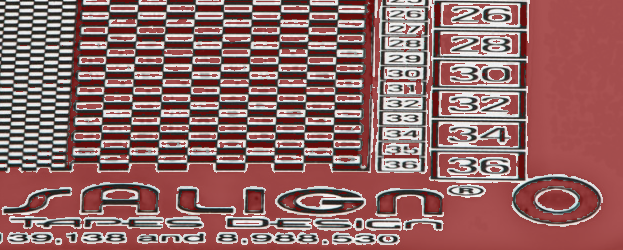
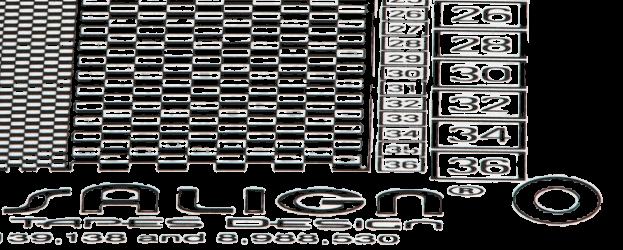
The subject used for photo stacking was the Lens Align Ruler shown here:

The ruler was laid at a very shallow angle so that it was in full view on the LCD of the camera. The ruler was illuminated with an OTT Lamp which gave a WB around 5000 degrees Kelvin.
Since the vertical height from the front to the back of the ruler was around 2 inches, I had to move the camera setup back to 6 feet (6 foot working distance) to get a 1:3 close-up photo which is approximately 2 inches in height.
Here is the first of 32 photos taken at 6 ft. which shows the bottom of the ruler (I photographed the ruler from the bottom of the ruler to the top):

The following photo may seem irrelevant but its use will become clear soon. Here is the photoshop alignment of the 32 photos in my forming the final stack:

It looks the same as the first photo but it is an alignment of 32 photos, which looks promising.
Here is photoshops blending of the 32 photos:

Wow, the 32 photo stack of the 10.5 inch long ruler looks great. No distortion, no blurs, and has sharp numbers and black squares. I did a great photo stack of 1:3 close-up photos taken at 6 feet working distance. I really have a great setup and Photoshop did a great job at stacking.
Stay tuned, it gets real interesting.
I was really feeling elated. So I decided to move the camera setup up closer to ruler to get a 1:2 close-up stack of the ruler a 4 foot working distance.
Here is the first photo of 20 photos taken at 4 feet:

Looking good. To show that the 20 photos were very good for stacking I am going to show a couple more photos selected from the 20 photos.
Here is a photo showing the "20" number on the ruler:

Here is a photo showing the "4" number on the ruler:

And here is a photo showing the center "0" number on the ruler:

All 20 photos were very sharp and ready for stacking by Photoshop!
Here is the Photoshop alignment of the 20 photos; it should show just the bottom zero just like my successful stack at 6 feet shown above:

What the ___. What happened? I must have made a mistake in stacking the 20 photos in Photoshop. I did it again, same results, did it again very carefully, same results???
Here is the resulting Photoshop blend:

Something is wrong. I got great results with my 6 foot stack. I look at the photos I took at 6 feet and noticed that the right side edge and the bottom edge of the ruler was in the photos. So I am thinking Photoshop needs straight lines like the edges of the ruler to do a good stack. So I rephotographed the ruler with the right edge and bottom edge in the photos.
Here is the first photo of the 27 photos I took with the edges in the photos:

Looking good, edges look good. Here is the center "0" number of the 27 photos:

I checked all 27 photos and they showed sharp numbers, sharp black squares, and good edges. So I proceeded with the Photoshop stacking.
Here is the alignment of the 27 photos:

What in the world is going on with this Photoshop stacking?
Here is the Photoshop blend of the aligned 27 photos:

I give up! Photoshop is really letting me down. I cannot believe what I am seeing. Terrific Photoshop stack of 1:3 close-up photos taken at 6 feet but really bad stacks at 4 feet?
Before I gave up, I remembered Rik Littlefield suggested in my May 2nd post to try Zerene Stacker. So I download the 30 day trial version of the latest beta of Zerene Stacker. I absolutely do not know how to use it, but I forged ahead right after downloading the software to see what it can do.
I fumbled around and finally figured out how to get my first stack out of Zerene Stacker. Here is what Rik calls the ZS DMAP stack of the 27 photos I took at 4 feet:

Wow, it stacked the 27 photos that were 1:2 close-up photos taken at 4 feet. These are the same 27 photos that Photoshop stacked a complete mess.
Obvious, the stacked photo needs some editing to clear up gray areas in the white squares, around the numbers and in the words. But I know nothing about editing in Zerene Stacker so the editing comes later.
I notice that there is another algorithm in Zerene Stacker called PMAX. So I tried it on the 27 photos. Here is the results of the PMAX stack:

I do not have to do any editing of this PMAX stack. It is perfect. I am buying Zerene Stacker. Thank you Rik, you have a great stacking program.
This is a very long post but very informative for those who are thinking of using Photoshop to stack photos. I will be using Zerene Stacker from now on.
Leon