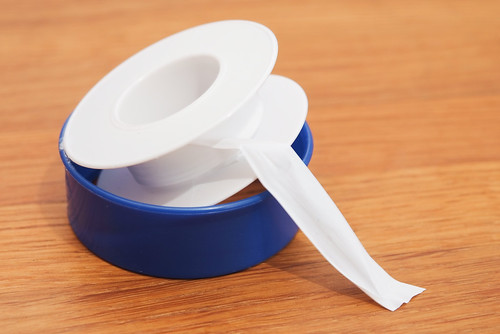
Thought I'd share another couple of ways to mount this lens:

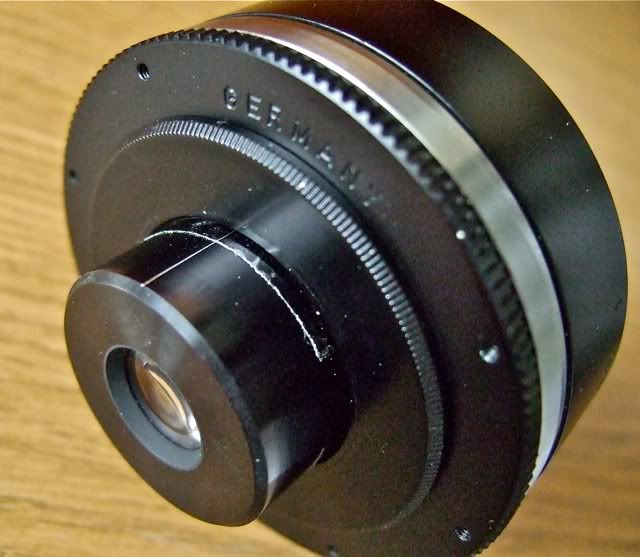
On the one on the right I've machined off the rearmost 5mm using a handheld dremel tool. I took enough so that the adapter would align with the front edge of the indentation rather than the cut surface (mainly in case the machined surface would be slightly uneven, which it wasn't)
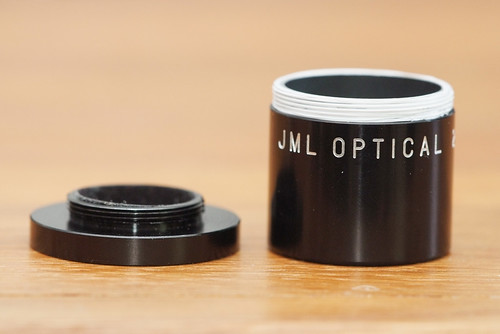
A couple of layers of white thread tape (more on this further down) makes for a tight fit with a 1"->RMS adapter (eBay #370321401850)
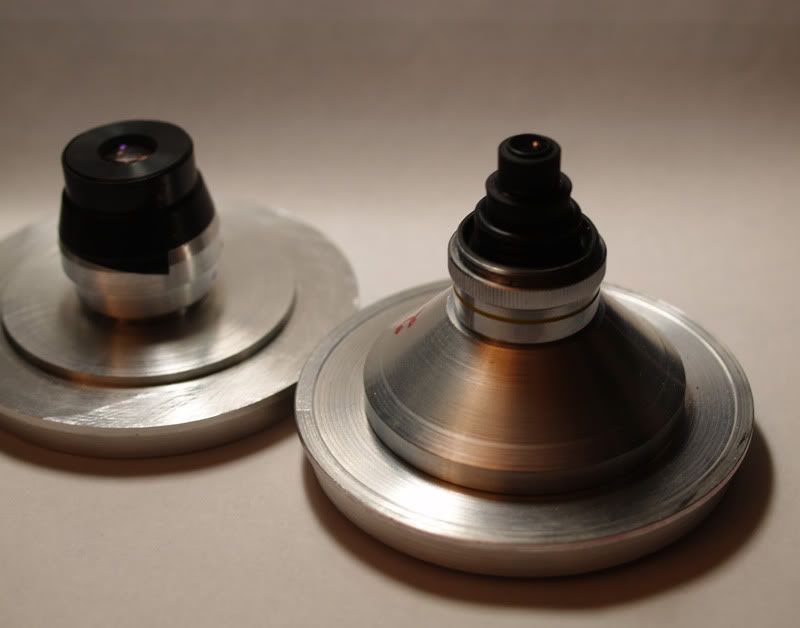
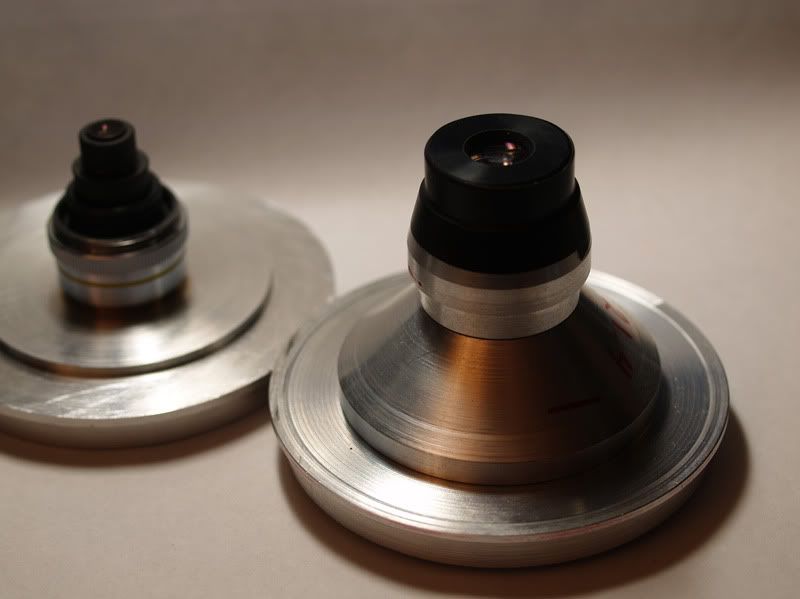
With the adapter in place it's about the same height as the original lens.
-------------- Here comes another one
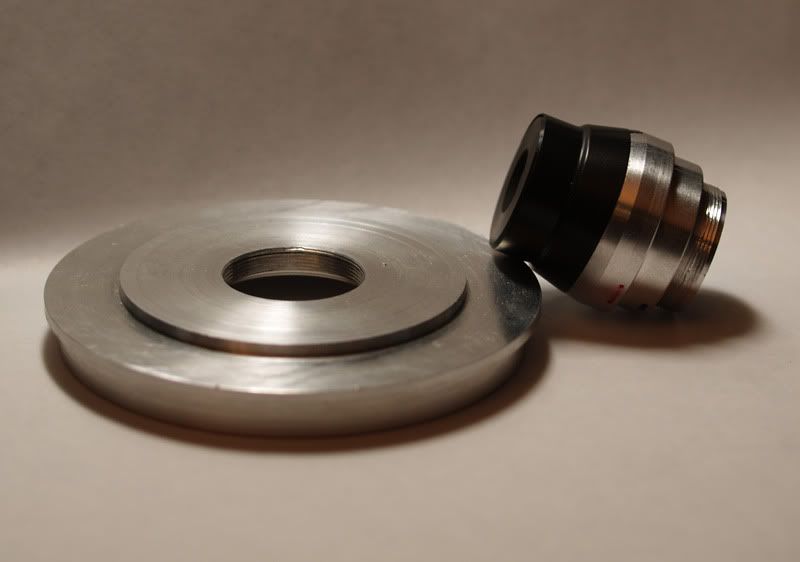
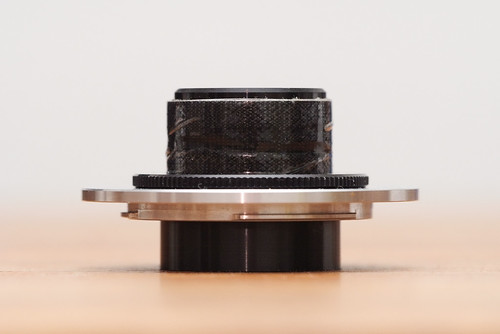
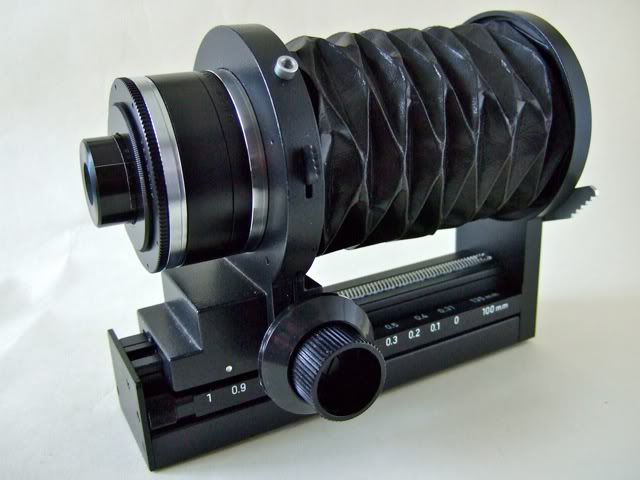
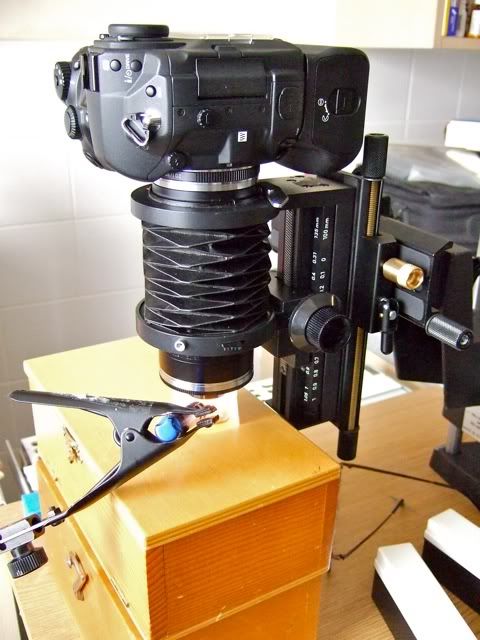
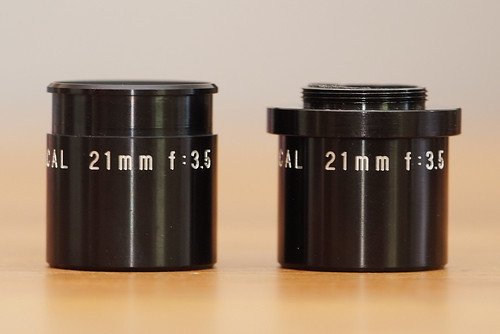
In order to be able to use this lens on a bellows setup at relatively low magnifications I wanted to recess it more into the bellows.

A 25->28mm step-up ring + a couple of layers of the white thread tape make a tight and "self aligning" fit.
The 25mm male thread on the front of the JML lens screws in "from behind" in a female 25mm->F-mount adapter assembly (Nikon K2 ring + 52->37mm step down + 37mm->35mm step down). Looks a bit complicated perhaps but the principle is simple.
--------------
This was the my first acquaintance with the thread tape and I'm very pleasantly surprised so I thought it deserved a special mention.
Somebody mentioned teflon-tape as a good way of make slightly mismatched threads to fit. I asked for it in the hardware store but they'd never heard of it. Instead they showed this one:
Plumbers use it to seal threads. Not sure what its made from but it's extremely thin and flimsy (cellophane like) and without any adhesive. It applies easily and somehow sticks to itself.
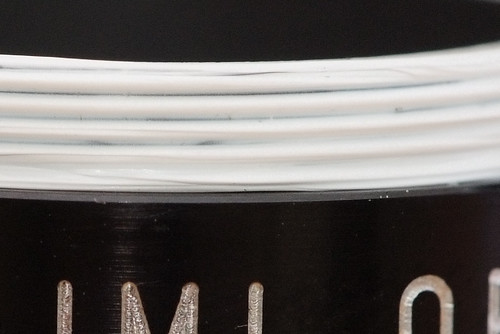
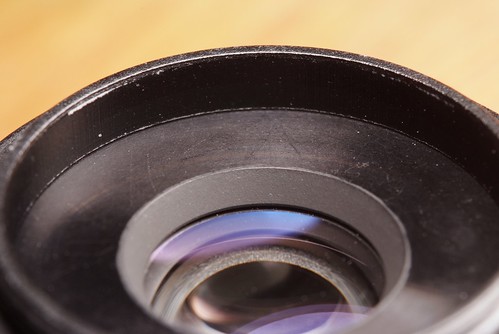
When you screw something on it the first time, it forms to fill out the gaps and it offers just the right friction to glide easily without coming loose. It seems quite durable – you're able to screw and unscrew the threads many times without damaging the tape. This is a close up showing the tape applied to the (unthreaded) JML lens after the adapter has been screwed on and off. It doesn't seem to get hard (easy to remove) but it's solid enough to let you pick it up by the "pseudo threads" without damaging them.