
It consists of an Olympus CH base, plus a custom adapter that allows fastening a camera with extension tubes or bellows where the microscope head used to fit.
For the dandelion seeds, I used minimum extension:
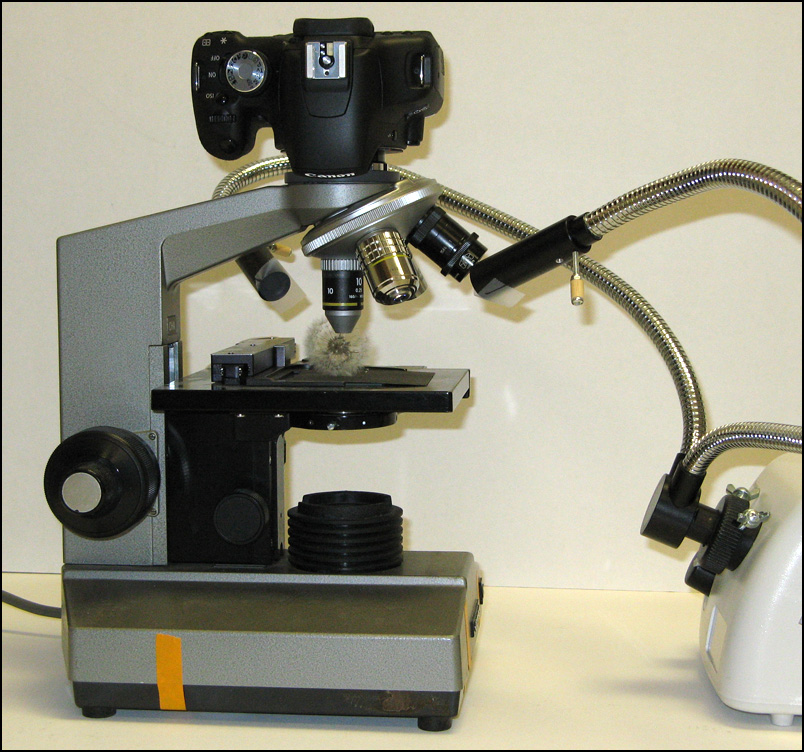
In case you're wondering about the pieces of tape... The orange tape keeps the base of the microscope from falling off! Somebody managed to break off all the screws, as a result of which I got a good price on an otherwise fully functional base. I even got a basic condenser, not shown here. The eBay ad said the light didn't work, but it does. I think they didn't know how to turn it on. The pieces of clear tape over the ends of the illuminator lenses add just a bit of diffusion that helped the appearance of the dandelion seeds.
Add a bellows for more extension if needed.

In the above pictures, I have removed several wires just for my convenience in staging. In actual use, there were three wires connected to the camera: power from an AC adapter, wired remote shutter switch, and HDMI to a video monitor. Sometimes there is a fourth wire for USB to a laptop computer, but usually I just let the images accumulate on a memory chip inside the camera and then physically port that chip to my main computer which is in a different room.
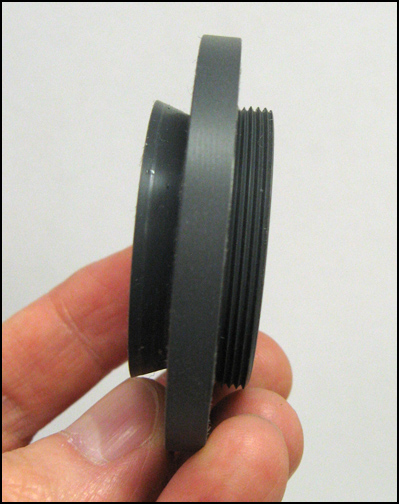
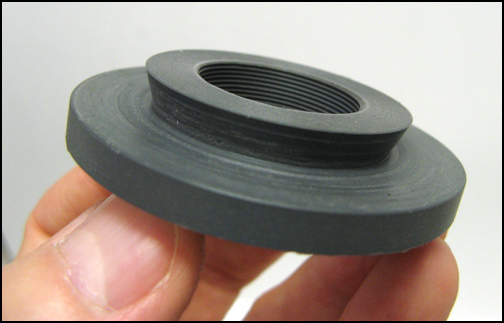
The adapter is just a chunk of plastic turned on a metal lathe, made on one end to fit the microscope's "dovetail" above the objectives, and on the other end an M42 thread to fit other accessories I have lying around. The adapter also does double duty, having internal threads that allow a Nikon BD objective to be stuck on the end of an M42 setup.
--Rik


