
Moderators: rjlittlefield, ChrisR, Chris S., Pau


Hey, those are my picsChrisR wrote:Note to self = look better at tiny flowers! Some pics ( crummy by comparison) here
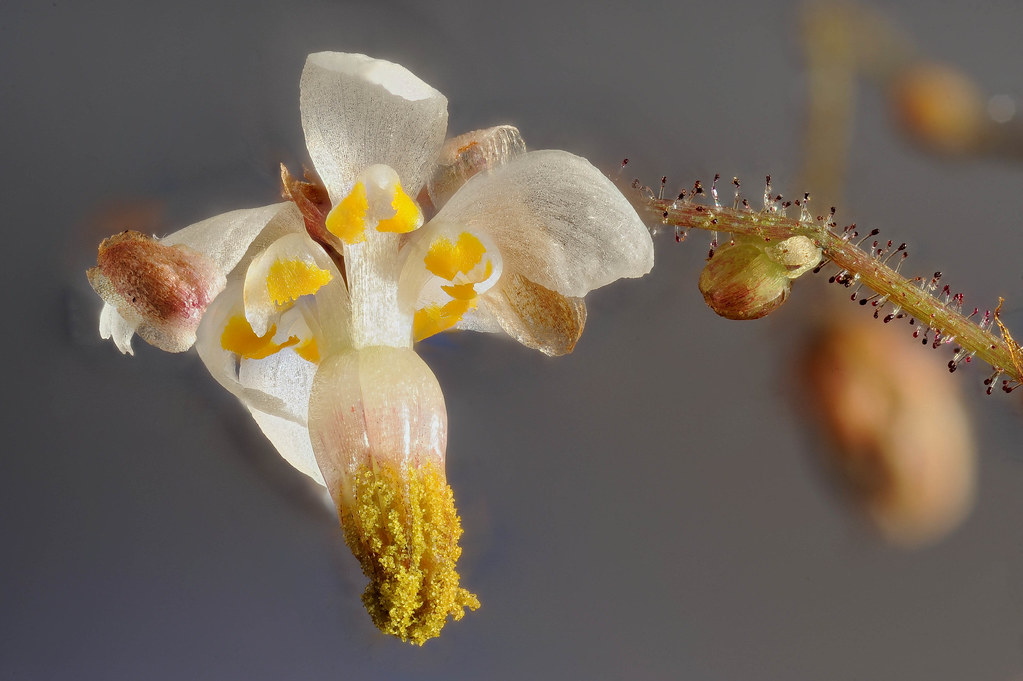
The stem behind in the first shot turns blurry close to the petal. There's nothing to recover. The low mag shot has these blurry backgrounds near the edges worse.Do all the stacking artifacts retouch out OK - particularly where the stem(?) comes in behind the petal(?) on the right?
Do you need telecentricity for the later pics?
There's nothing to recover.

Given a good algorithm, loss of background detail next to a foreground edge is due to occlusion. When the background is (or would be!) focused, it is partially or completely obscured by the foreground element.(er, Rik,)
That stem is a great example because it illustrates two different effects.ChrisR wrote:There's nothing to recover.
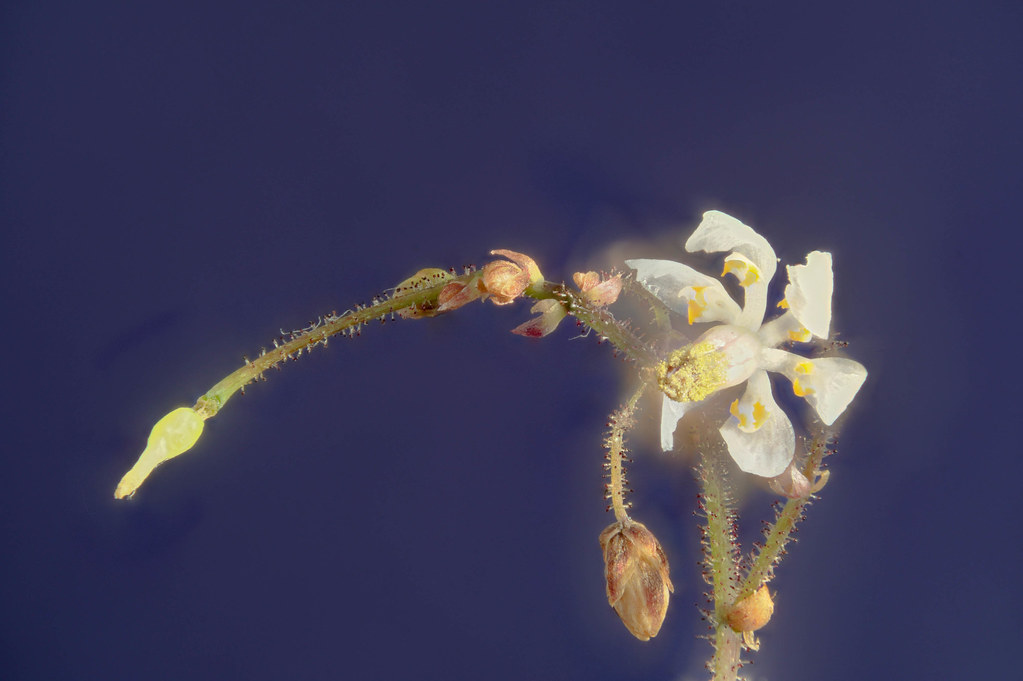
Similar with stem on right of first pic of second post, which looks as though it must be in the middle of the stack somewhere??
Partial occlusion cannot be avoided. Complete occlusion can be avoided by proper choice of lens and focusing technique, but sometimes it's a lot of trouble.ChrisR wrote:I've often got these and wondered if I was doing something wrong.
In theory, it's possible to computationally remove the effect of partial occlusion. But it's a very difficult problem because to accurately estimate the contamination, you need to know both subject geometry and optical geometry -- essentially, where the cones are and what is seen by them. This would be bad enough if lenses were perfect and apertures were round, but they're not. This is back to bokeh -- what does an OOF point source look like? I'm not aware of anybody who has tackled this problem even as a research effort.ChrisR wrote:I don't know if it's an inevitable effect from stacking, or if some stacking programs would have a variable which could be used to minimise it. ??
The right side, I started the stack there so the fade off doesn't go any further. Here's a very short video showing that stack. It's possible I had a bit of 'reverse perspective' working against me here.rjlittlefield wrote:That stem is a great example because it illustrates two different effects.ChrisR wrote:There's nothing to recover.
Similar with stem on right of first pic of second post, which looks as though it must be in the middle of the stack somewhere??
At the bottom right end of the stem, where it passes behind the horizontal edge of the petal, there actually is detail right up to the edge, but with degraded contrast. This is a case where the cone was only partly occluded.
At the upper left end of the stem, where it passes behind the vertical edge, there appears to be no detail at all. This is probably a case where the cone was completely occluded.
If the optics were perfectly telecentric, then the maximum occlusion would be only half the cone, and the upper left end of the stem would look the same as the lower right -- detail present, contrast degraded.
The fact that there appears to be complete occlusion behind the vertical (tangential) edge suggests that the optics were not completely telecentric. I see some radial dust trails that indicate scale changes.
