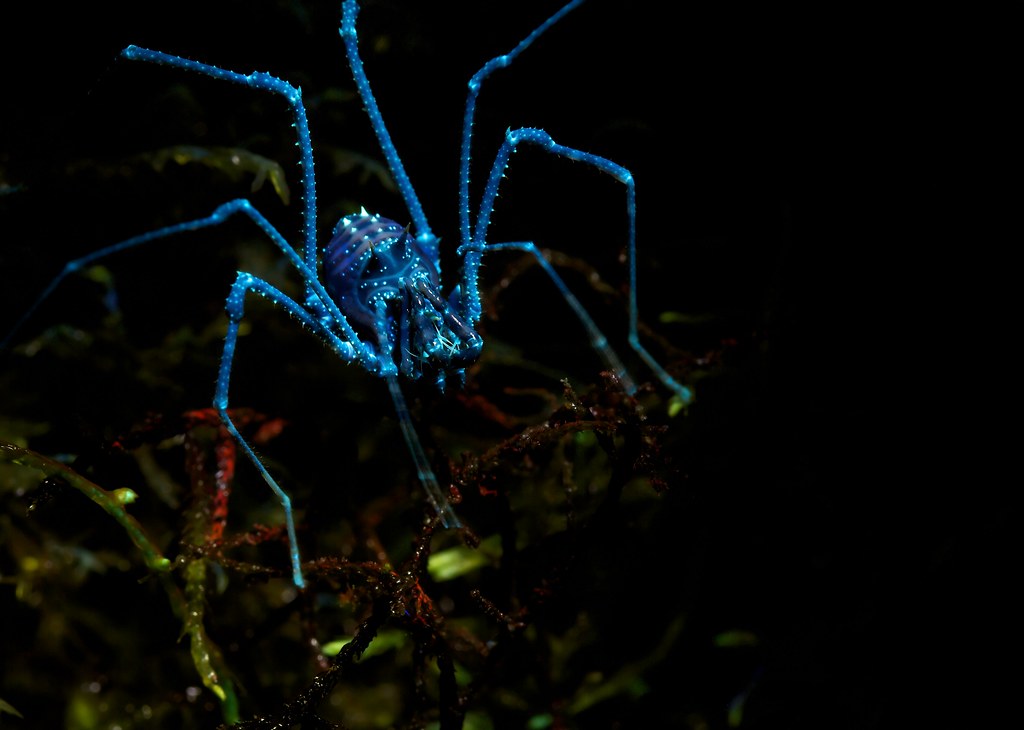
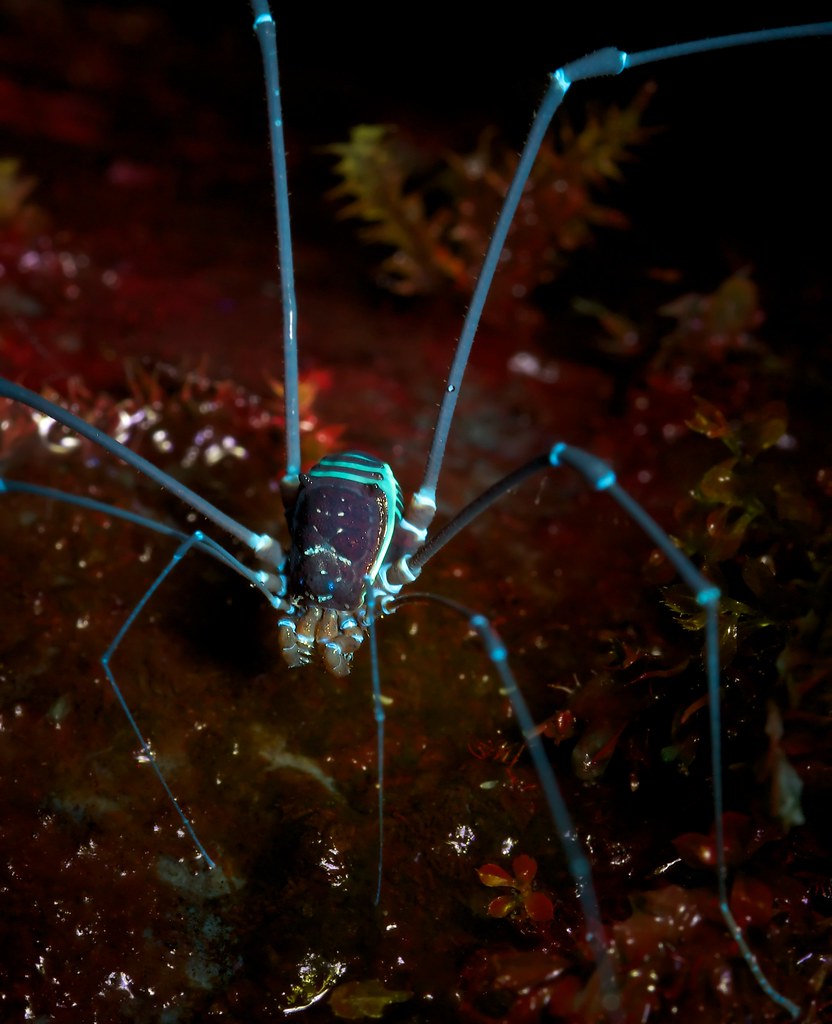
That first Harvestman in UV... Wow ! Looks almost like under water photography. Do you use the MP-E 65 ? If so, how did you illuminate this specimen ? UV LED's ?
I do use the mpe for most shots, though these were taken with a 100mm, I use the Zeiss Makro planar T* and the Canon interchangeably, usually the latter at night thanks to the autofocus.
The article I wrote for Photolife in July (in brief) below outlines the steps for UV photography:
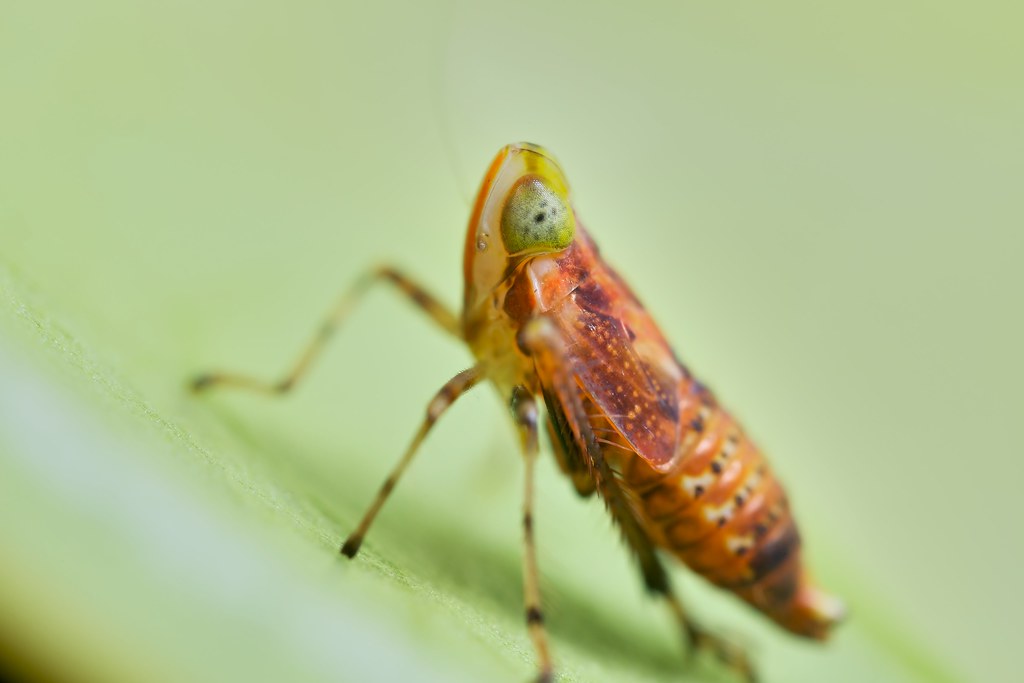
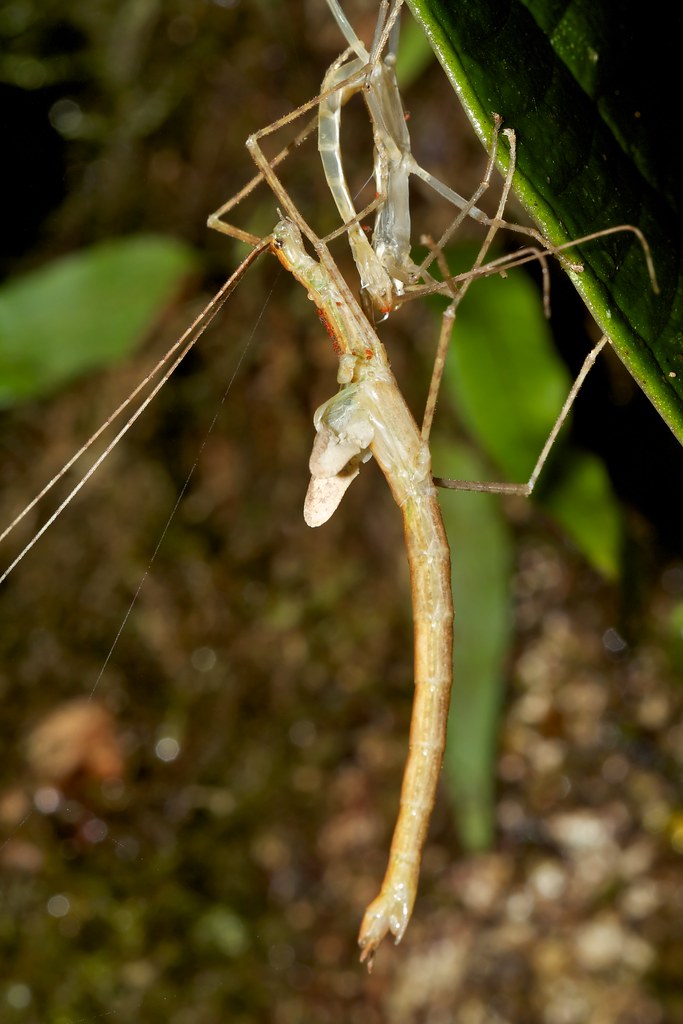
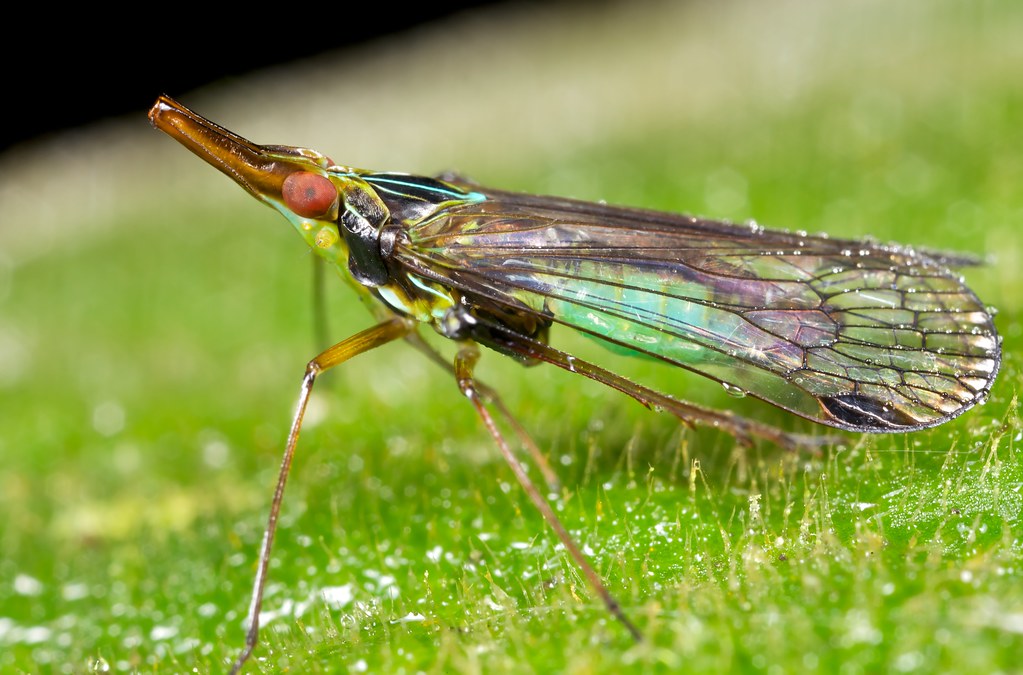
• Pick your subject. Many insects, plants and flowers display fluorescence. Scorpions, harvestmen (daddy long-legs),
centipedes and millipedes fluoresce quite brightly. A walk in the dark with your UV light is the best way to find subjects.
• With your camera mounted on a tripod, compose the image and set the mode to mirror lock-up. Alternately, you can
set the camera to Live View mode to maintain your subject in view. Both these methods avoid mirror slap, which
degrades picture quality, especially given the long exposure times.
• Use either a remote trigger or built-in timer (to avoid camera shake when pressing the shutter).
• Set a long shutter speed (30 s or more).
• Set a very short flash duration (1/64 s).
• Trip the shutter while you proceed to “light paint,” i.e., move the UV light beam over the surface of the subject that
you want to fluoresce. The longer you stay on any one part, the brighter it will appear in the final shot. Be aware that
the same subject might fluoresce at one wavelength (say 320 nm) but not at another (480 nm).